Advanced Agent Behaviors: Planner, Formatter & Renderer
By default, an Agent uses only the Orchestrator node — it reads the user's message, reasons about intent, and responds. For complex scenarios, the Vue.ai platform provides three additional optional processing nodes that can be independently toggled on.
All three optional nodes are configured in the Details tab of the Agent Builder, below the Orchestrator section.
1. Enable Planning — The Planner Node
The Planner adds a deliberate reasoning step between the Orchestrator and Action execution. Its sole responsibility is to calculate the optimal sequence of actions needed to fulfill a complex request. It does not interact with the user or handle data collection; those tasks are managed by the Orchestrator.
Without Planning:
User: "Compare my last 3 invoices and flag anomalies"
Orchestrator → Immediately fires the first matching Action → May miss steps
With Planning:
User: "Compare my last 3 invoices and flag anomalies"
Orchestrator → Planner:
  Step 1: Action: Fetch_Invoices
  Step 2: Action: Parse_Invoice
→ Orchestrator executes actions sequentially
How to Enable
- Open the Agent in the Details tab.
- Scroll down past the Orchestrator Instructions textarea.
- Check the ☐ Enable Planning checkbox.
- A new Planning configuration section appears immediately below.
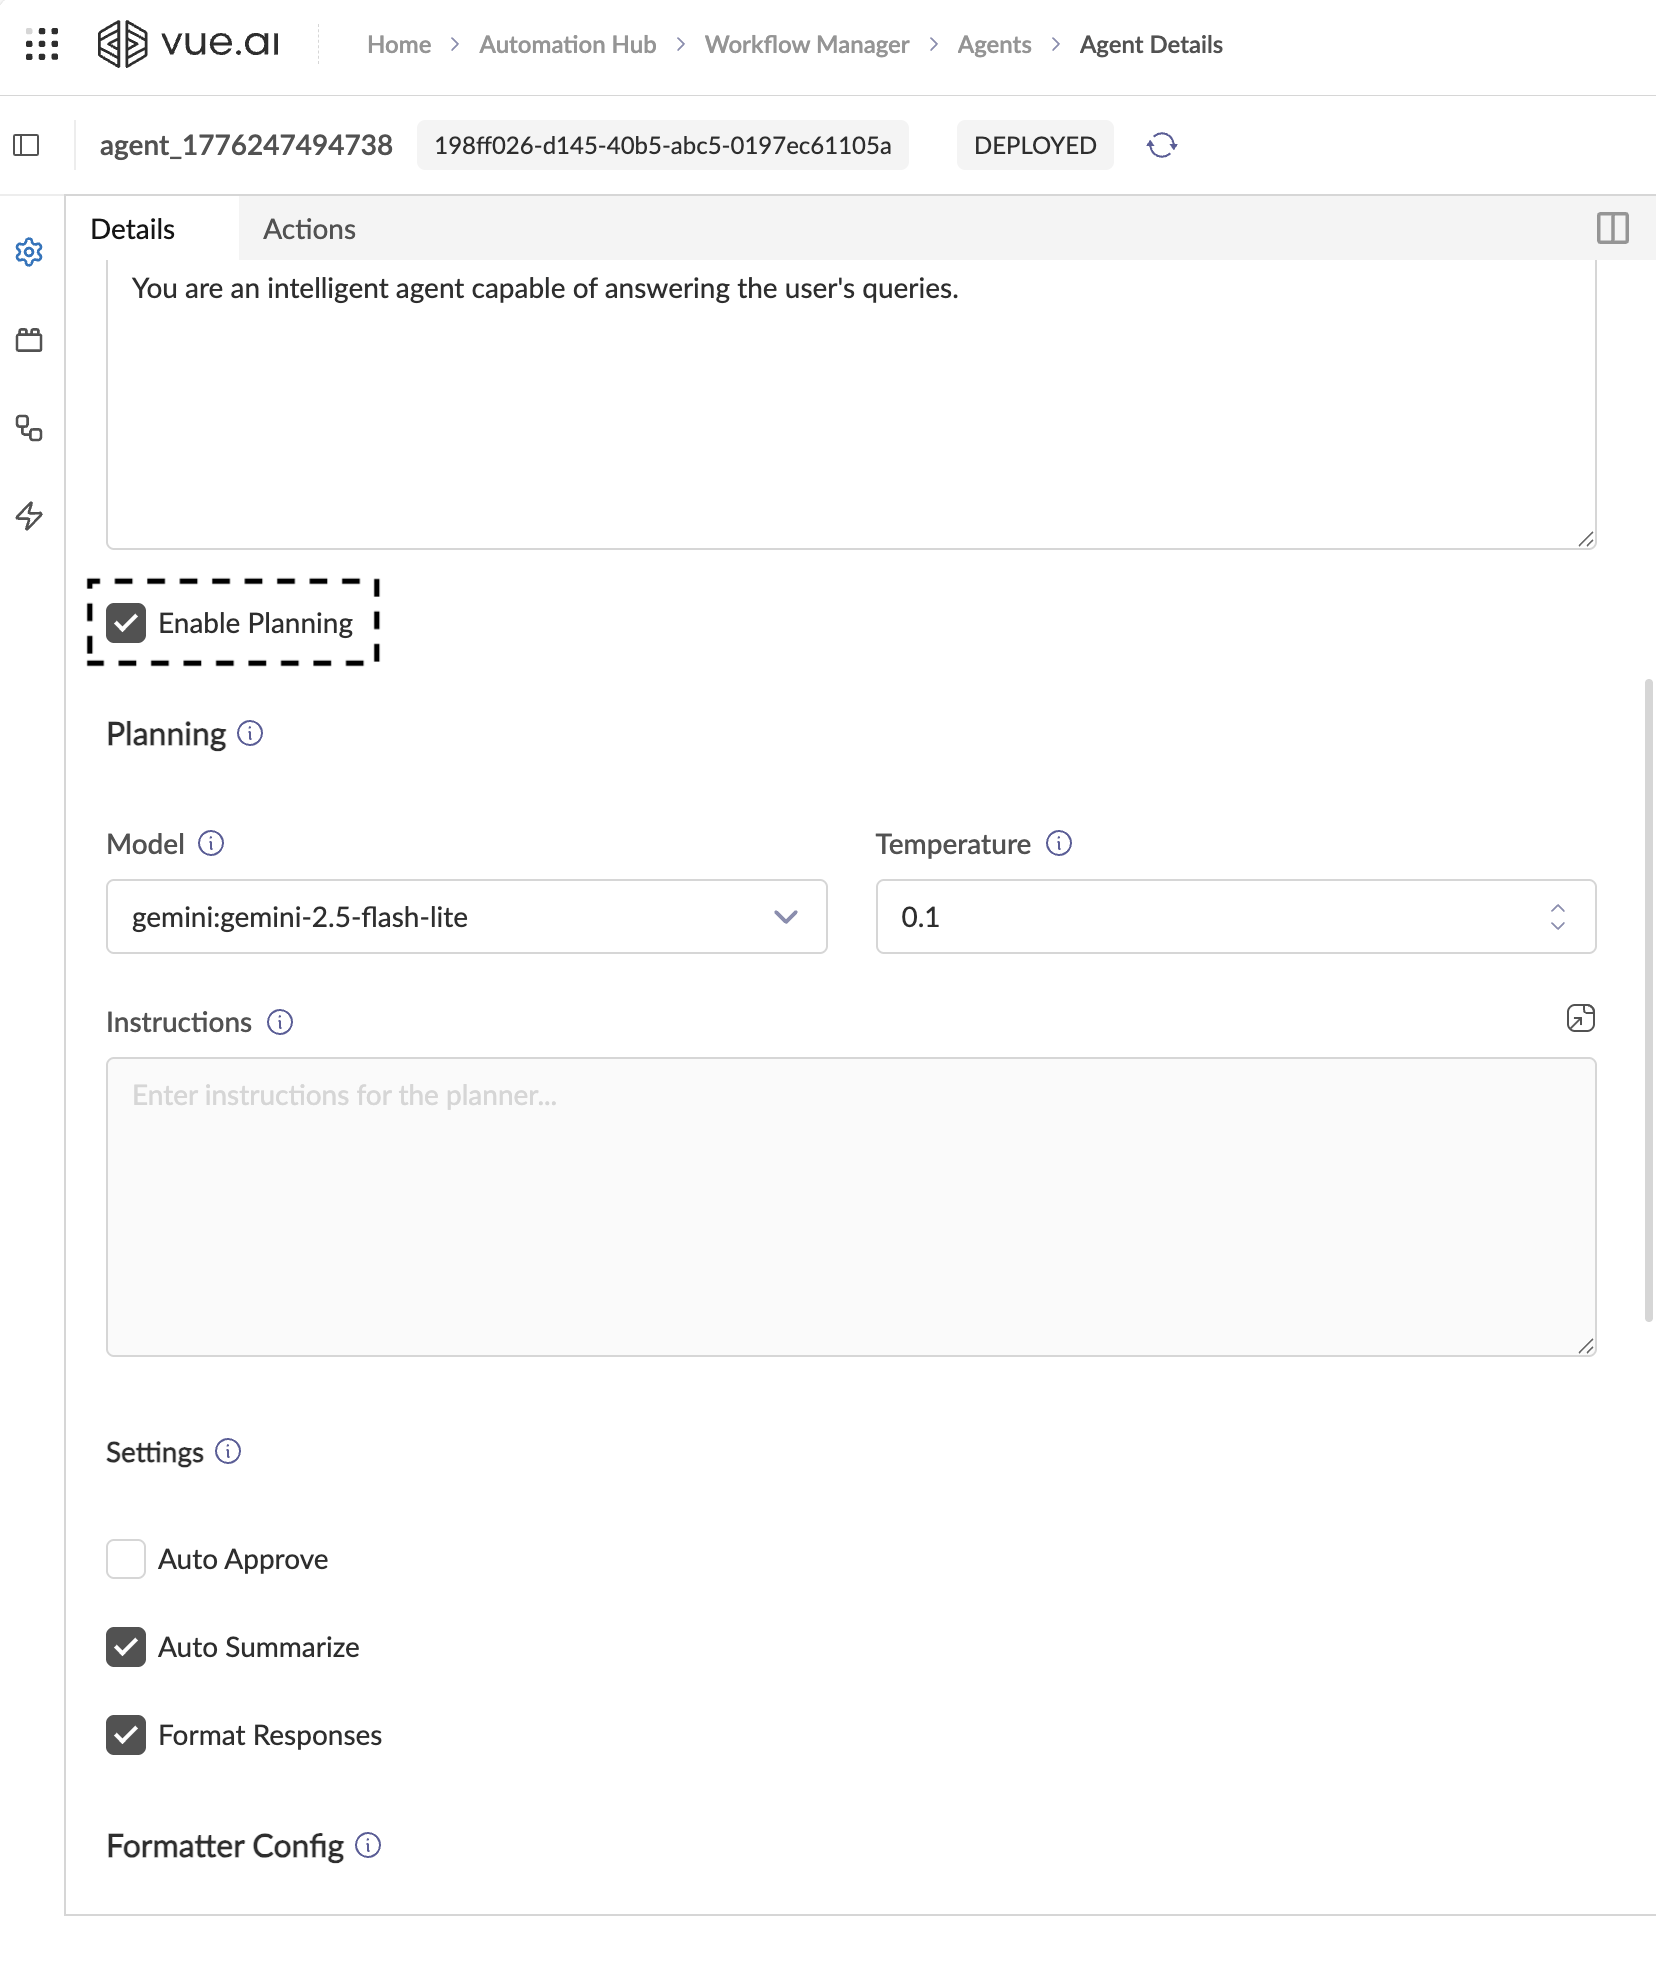
Planner Configuration Fields
| Field | Description | Recommended Value |
|---|---|---|
| Model | The LLM used exclusively for planning. Does not need to be the same model as the Orchestrator. | gemini:gemini-2.5-pro |
| Temperature | Controls planning randomness. | 0.1 (keep deterministic for reliable plans) |
| Instructions | System prompt that governs how the Planner reasons. Optional. | See example below |
The Planner uses sophisticated internal defaults to calculate action sequences. Providing custom instructions is optional and if provided, are used to refine the default behaviour.
Behavior When Planning is Enabled
When planning is enabled for your agent:
- Plan Presentation:
After the user submits a request, the planner sub-agent generates a high-level plan (a sequence of action steps). This plan is presented to the user for review. - User Approval or Modification:
The user can approve the proposed plan as-is, or modify the plan steps before proceeding. - Step-by-Step Execution:
Once the plan is approved, the agent (orchestrator) begins executing the plan steps one by one, handling each action in sequence.
Handling Failures and Deviations
- If an action fails, or if the result of a step is different from what was expected, the orchestrator agent can:
- Prompt the user for clarification or next steps,
- Attempt to replan (generate a new plan based on the updated situation),
- Or gracefully handle the deviation as appropriate.
- This makes the planning system flexible and robust—your agent is not locked into a rigid sequence, but can adapt to real-world failures or changes in user intent.
Planner Instructions vs. Orchestrator Instructions
It’s important to understand the distinction between Planner Instructions and Orchestrator Instructions:
- Planner Instructions are provided to a dedicated LLM (the Planner node) whose sole job is to generate a high-level plan—a sequence of action steps needed to fulfill the user’s request. The planner is not concerned with how these steps are executed, what inputs are required, or how to interact with the user. It simply outputs the optimal order of actions.
- Think of the planner as the architect, designing the blueprint but not building the house.
- Orchestrator Instructions are used by the main agent (the Orchestrator node) to actually execute the plan. The orchestrator is responsible for:
- Collecting any required inputs (prompting the user if needed)
- Invoking each action in the plan
- Handling responses and managing the conversation flow
- Ensuring the plan is carried out step by step
Workflow:
- The Orchestrator receives the user’s request and, if planning is enabled, delegates to the Planner.
- The Planner generates a plan (sequence of actions) using the Planner Instructions.
- Once the plan is approved, control returns to the Orchestrator, which executes the plan using the Orchestrator Instructions.
Summary:
- The Planner decides “what should be done” (the steps).
- The Orchestrator decides “how it’s done” (execution, user interaction, and action invocation).
This separation allows for more robust, modular, and maintainable agent behaviors.
Example: Planner vs. Orchestrator Instructions
Suppose your agent needs to flag anomalies in a specific invoice.
Planner Instructions Example:
"When the user asks to compare or analyze invoices, use the following sequence:
- Use the Fetch_Invoices action to retrieve the candidate list.
- Use the Parse_Invoice action for each specific invoice identified.
Orchestrator Instructions Example:
"You are a helpful invoice assistant. After fetching the user's invoices, always ask the user which invoice they want to parse before proceeding to the next step in the plan. Then, parse the selected invoice and present the results."
This highlights the distinction: the planner determines what actions need to be taken by outlining the sequence, while the orchestrator manages how those actions are carried out—handling user interaction, gathering inputs, and executing each step.
Planner vs. Orchestrator Duties
The Planner should not contain instructions to ask the user for information or collect parameters. If a parameter is missing for an action in the sequence, the Orchestrator will automatically handle the user interaction based on the Action's Input Schema.
Tip: Write Plans in Your Domain Language
The best planner instructions describe the workflow in natural language specific to your use case. Think of it as writing a step-by-step SOP (Standard Operating Procedure) that the Agent should follow. The more specific the steps, the more reliable the Agent's execution.
Important
The Planner model and the Orchestrator model are independent. You can use a powerful model (gemini:gemini-2.5-pro) for planning while using a cheaper model (gemini:gemini-2.5-flash) for orchestrator, or vice versa based on your use case.
2. Format Responses — The Formatter Node
What the Formatter Does
The Formatter is a post-processing node that takes raw responses and converts them into well-structured, human-readable markdown or other clean text formats. It acts as a readability enhancer.
Common use cases:
- Converting raw action output into clean markdown with headings, bullet points, and tables.
- Reformatting verbose LLM responses into concise, well-organized text.
- Standardizing response structure for consistent, polished user-facing output.
How to Enable
- In the Details tab, scroll down below the Enable Planning checkbox.
- Check the ☐ Format Responses checkbox.
- The Formatter Config section appears with its own Model, Temperature, and Instructions.
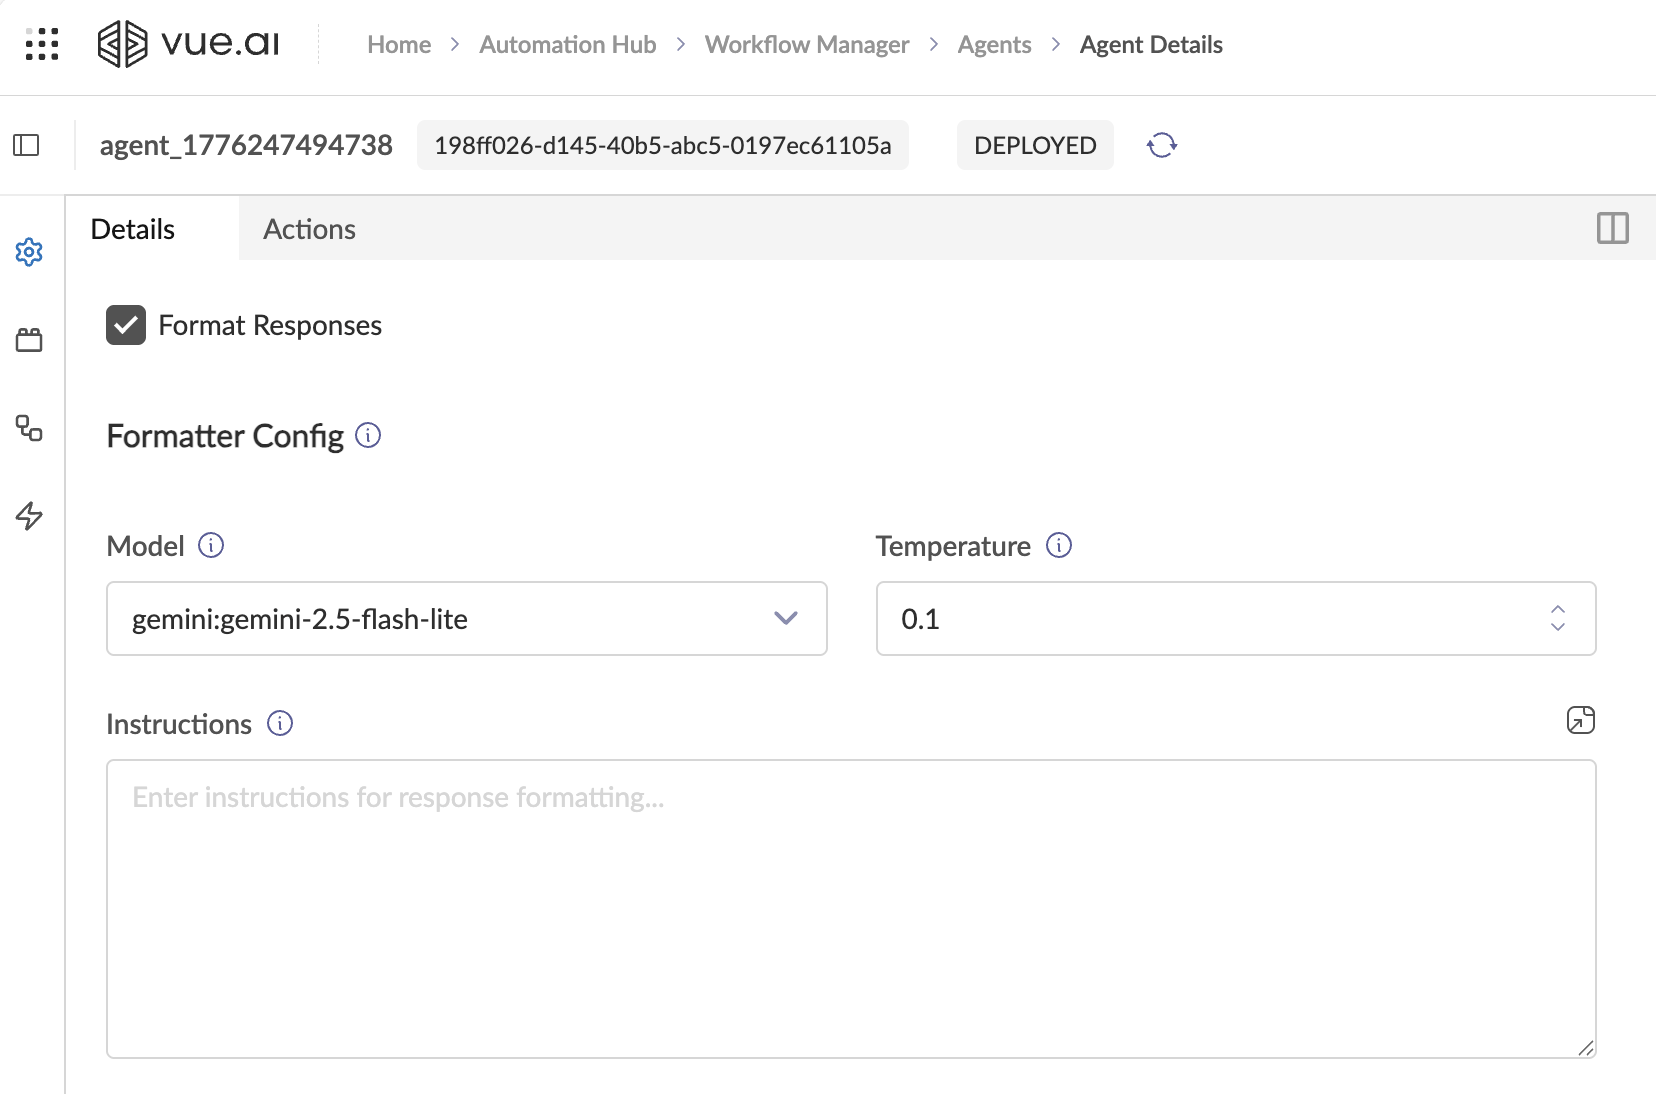
Formatter Configuration Fields
| Field | Description | Recommended Value |
|---|---|---|
| Model | The LLM for formatting. Use a fast, cheap model — formatting is simple text transformation, not deep reasoning. | gemini:gemini-2.5-flash |
| Temperature | Must be very low for deterministic, reproducible formatting. | 0.0 – 0.1 |
| Instructions | Defines the exact output format the Formatter must produce. Optional. | See example below |
If left empty, the Formatter relies on default platform logic to clean and structure raw output. Providing custom instructions allows you to refine the default behaviour.
Example Formatter Instructions:
Your job is to convert the raw response into clean, well-structured Markdown:

- Use headings (##) to organize sections.
- Use bullet points for lists of items.
- Use markdown tables for tabular data.
- Keep the tone concise and professional.
- Do not add information that is not present in the raw data.
3. Render Responses — The Renderer Node
What the Renderer Does
The Renderer is the final processing node in the pipeline. It takes raw responses and converts them into rich chat UI components — interactive forms, scrollable cards, data charts, and quick reply buttons.
Key distinction from Formatter:
- The Formatter produces human-readable text (markdown with headings, tables, bullet points).
- The Renderer produces rich interactive UI components (forms, cards, charts, quick replies).
How to Enable
- In the Details tab, scroll below the Formatter Config section.
- Check the ☐ Render Responses checkbox.
- The Renderer Config section appears.
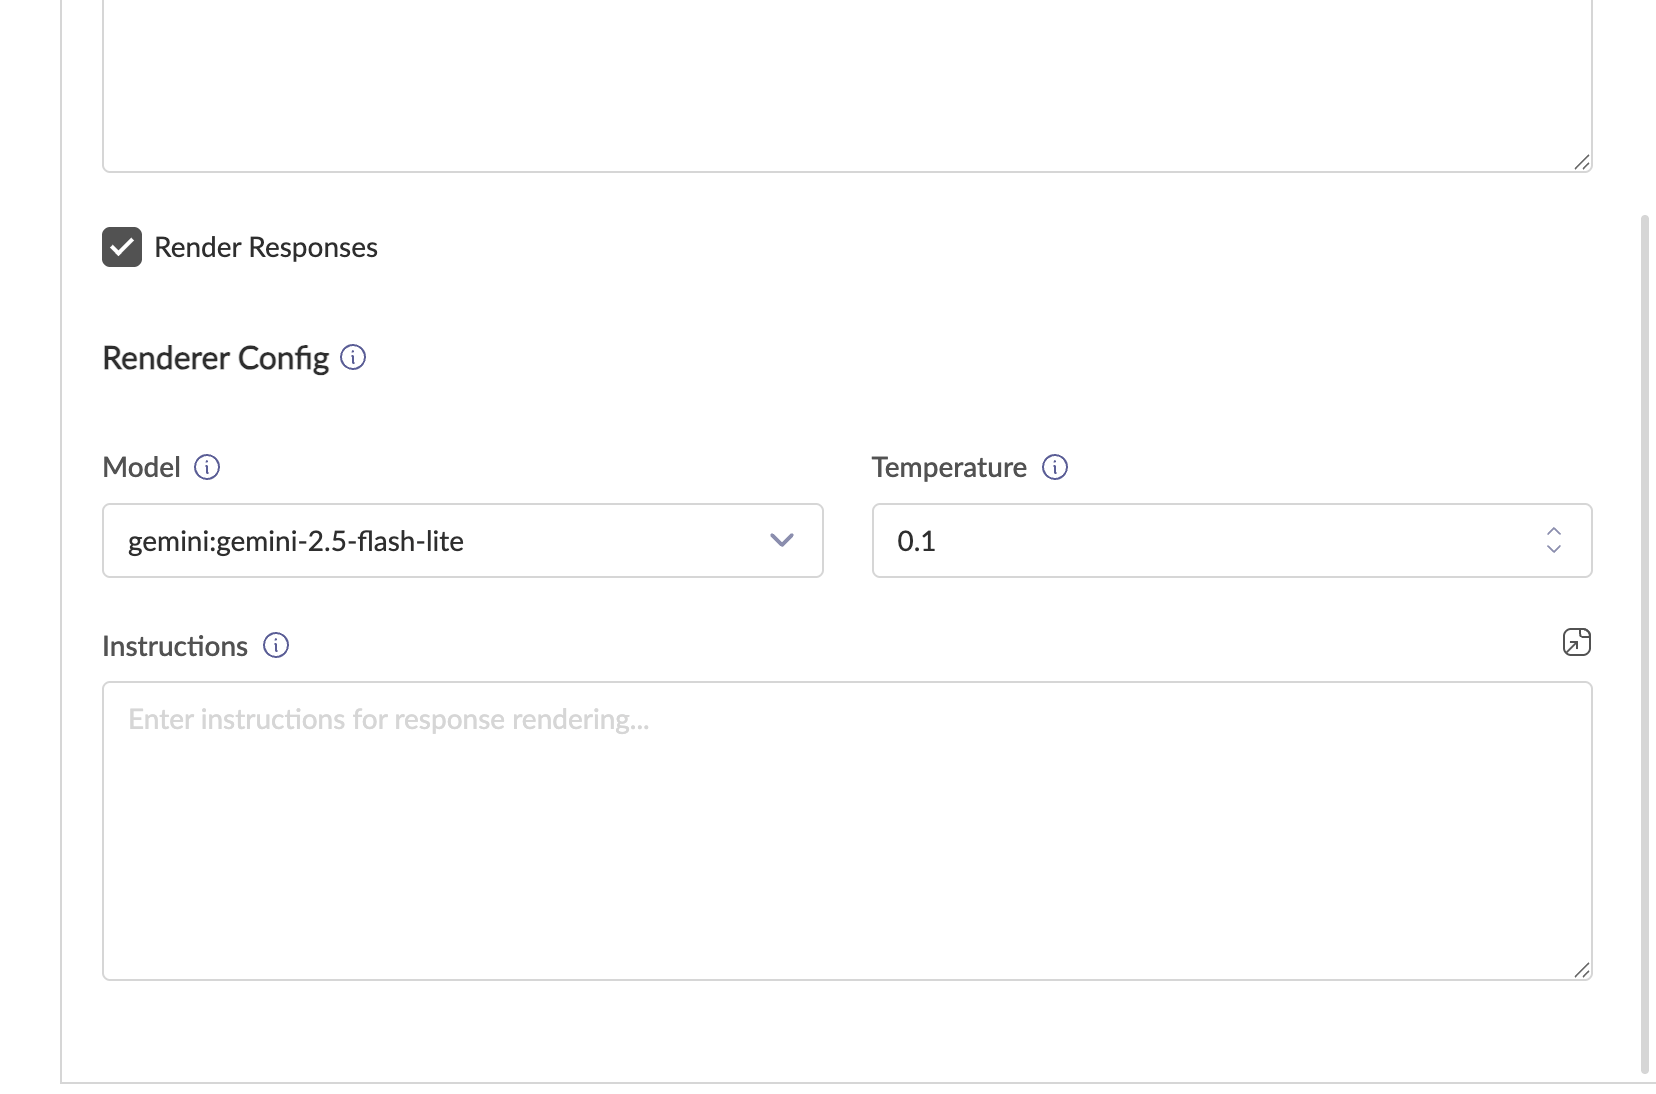
Renderer Configuration Fields
| Field | Description | Recommended Value |
|---|---|---|
| Model | The LLM for rendering. Recommended: azure_openai:gpt-4o. Switch to other models based on your specific use case. | azure_openai:gpt-4o |
| Temperature | Low for consistent rendering. | 0.1 |
| Instructions | Defines the rich output components to use. Optional. | See example below |
The Renderer has built-in logic for mapping common data structures to UI components. Use custom instructions to refine how specific data is visualized (e.g., "always use line charts for time-series data").
Example Renderer Instructions:
You receive data from the orchestrator or action output. Convert it into rich
chat UI components using the forced rendering JSON schema:
- Use "card" type for product recommendations or comparisons.
- Use "form" type when collecting structured input from the user.
- Use "chart" type for numerical/statistical data.
- Use "text" type with quickReplies to guide user choices.
Combining All Nodes — Full Pipeline Example
Here is a practical example with all four nodes enabled:
Scenario: A Customer Service Agent that looks up order status.
| Node | Model | Temperature | Instructions Summary |
|---|---|---|---|
| Orchestrator | gemini:gemini-2.5-pro | 0.1 | "You're a customer service agent. Use the Lookup_Order action when users ask about orders." |
| Planner | gemini:gemini-2.5-flash | 0.1 | "Break requests into steps. Always confirm the order ID before looking up." |
| Formatter | gemini:gemini-2.5-flash | 0.0 | "Convert the raw order data into clean markdown with headings and a summary table." |
| Renderer | azure_openai:gpt-4o | 0.1 | "Display order details as a card with order ID, status badge, delivery date, and item list." |
User flow:
- User says: "What's the status of my last order?"
- Orchestrator identifies intent → delegates to Planner.
- Planner creates plan: Step 1 — ask user for order ID; Step 2 — call Lookup_Order action.
- Agent asks: "Could you provide your order ID?"
- User provides: "ORD-12345"
- Planner proceeds — fires
Lookup_Orderaction withorder_id: ORD-12345. - Action returns raw data.
- Formatter converts raw data → clean markdown summary.
- Renderer converts data → rich card UI displayed in chat.
Best Practices
| Practice | Rationale |
|---|---|
Start with gemini:gemini-2.5-flash or azure_openai:gpt-4o-mini for general processing. | These models offer lower latency and are sufficient for most nodes (Orchestrator, Planner, Formatter) in standard scenarios. Upgrade to larger, more powerful models only if your use case demands higher reasoning quality — e.g., complex multi-step orchestration or nuanced intent understanding. |
Use azure_openai:gpt-4o for the Renderer node. | azure_openai:gpt-4o is recommended for the Renderer to ensure the most accurate mapping of raw data to rich UI components. Switch to other models based on your specific use case. |
| Understand the latency vs. quality tradeoff. | Smaller models (flash-lite, mini) respond faster but may produce lower-quality output for complex tasks. Heavier, more powerful models deliver better results but may add latency and cost. Choose based on the complexity of each node's job. |
Set Temperature to 0.0–0.1 for all nodes. | Responses must be deterministic and reproducible across all processing stages. |
| Keep Planner Instructions explicit about step structure. | Vague planner prompts lead to incomplete plans and missed Action calls. Define clear rules for how steps should be decomposed. |
| Write clear, specific Action names and descriptions. | The Orchestrator relies on Action names and Input Schema descriptions to decide when and how to trigger Actions. Ambiguous names cause misrouting. |
| Keep History Context as low as practical. | More history context means more tokens per request, increasing latency and cost. Use 3–5 turns unless your use case requires deeper conversational memory. |
| Iterate on Instructions using the Chat tab. | After changing any node's instructions, immediately test via the Chat tab. Small wording changes in system prompts can significantly affect Agent behavior. |
| Prefer forced rendering for deterministic UI. | Using the Renderer node adds an extra LLM call (latency). If the UI structure is predictable, it is more efficient to force rendering directly via the Action output. |